EASY DIY CAT ENCLOSURE
EASY DIY CAT ENCLOSURE
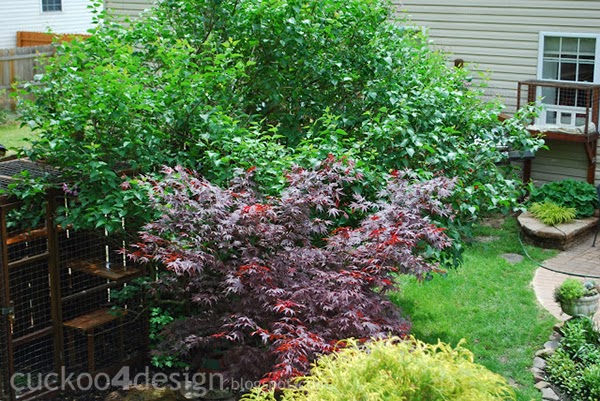
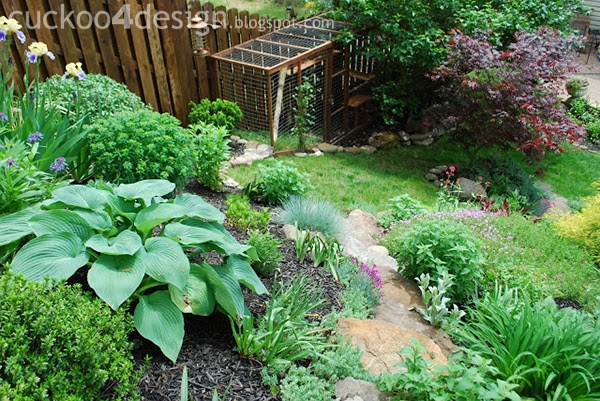
It’s not the prettiest design decision to have a chicken wired cat enclosure in your back yard and I’m sure a lot of my neighbors thought that I had finally lost it. I certainly got enough questions about what the heck I was doing now in our backyard (you can see more of our garden here). It took me pretty long to come up with the exact plans and materials on how I was going to build the enclosure.
Numerous trips to Lowes and Home Depot were made to research the type of wire mesh, hardware and wood I was going to use. First I started with drawing out some plans. After finishing the cage and comparing the childish looking plans to the actual cage, I came pretty close to what I dreamed of doing. I wish I could find the drawings so I could post them here to show you.
This post may contain affiliate links from which I will earn a commission at no extra cost to you. Click here to read my full disclosure policy.
I started with the small enclosure around the living room window. I purchased Ideal Pet Products Sash Chubby Kat Medium Pet Door, 27 to 32-Inch , a cat door that was made for windows. I’m really happy with the small door but I do take it out in the winter time and make the cats stay inside when it gets really cold. By really cold I mean well below freezing and sometimes into the minus.
On the right you can see the cat window in our old living room.
I built these support brackets for the tunnel with decking hardware and various pieces of wood.
LIST OF MOST OF THE SUPPLIES I USED TO BUILD MY EASY DIY CAT ENCLOSURE:
- galvanized mesh
- pressure treated wood
- cedar planks for the walk
- power drill
- galvanized screws
- a variety of galvanized deck hardware
- staple gun/nailer and compressor with different sized staples
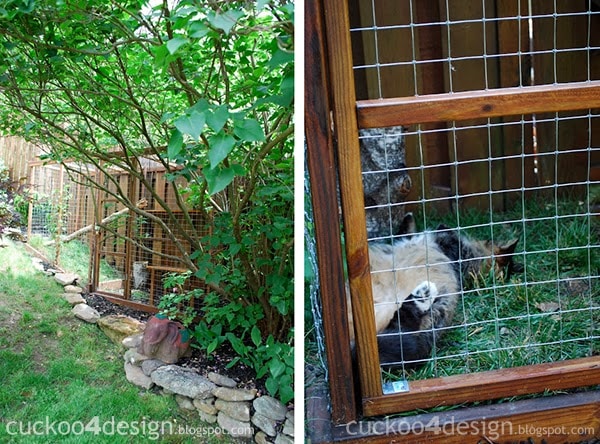
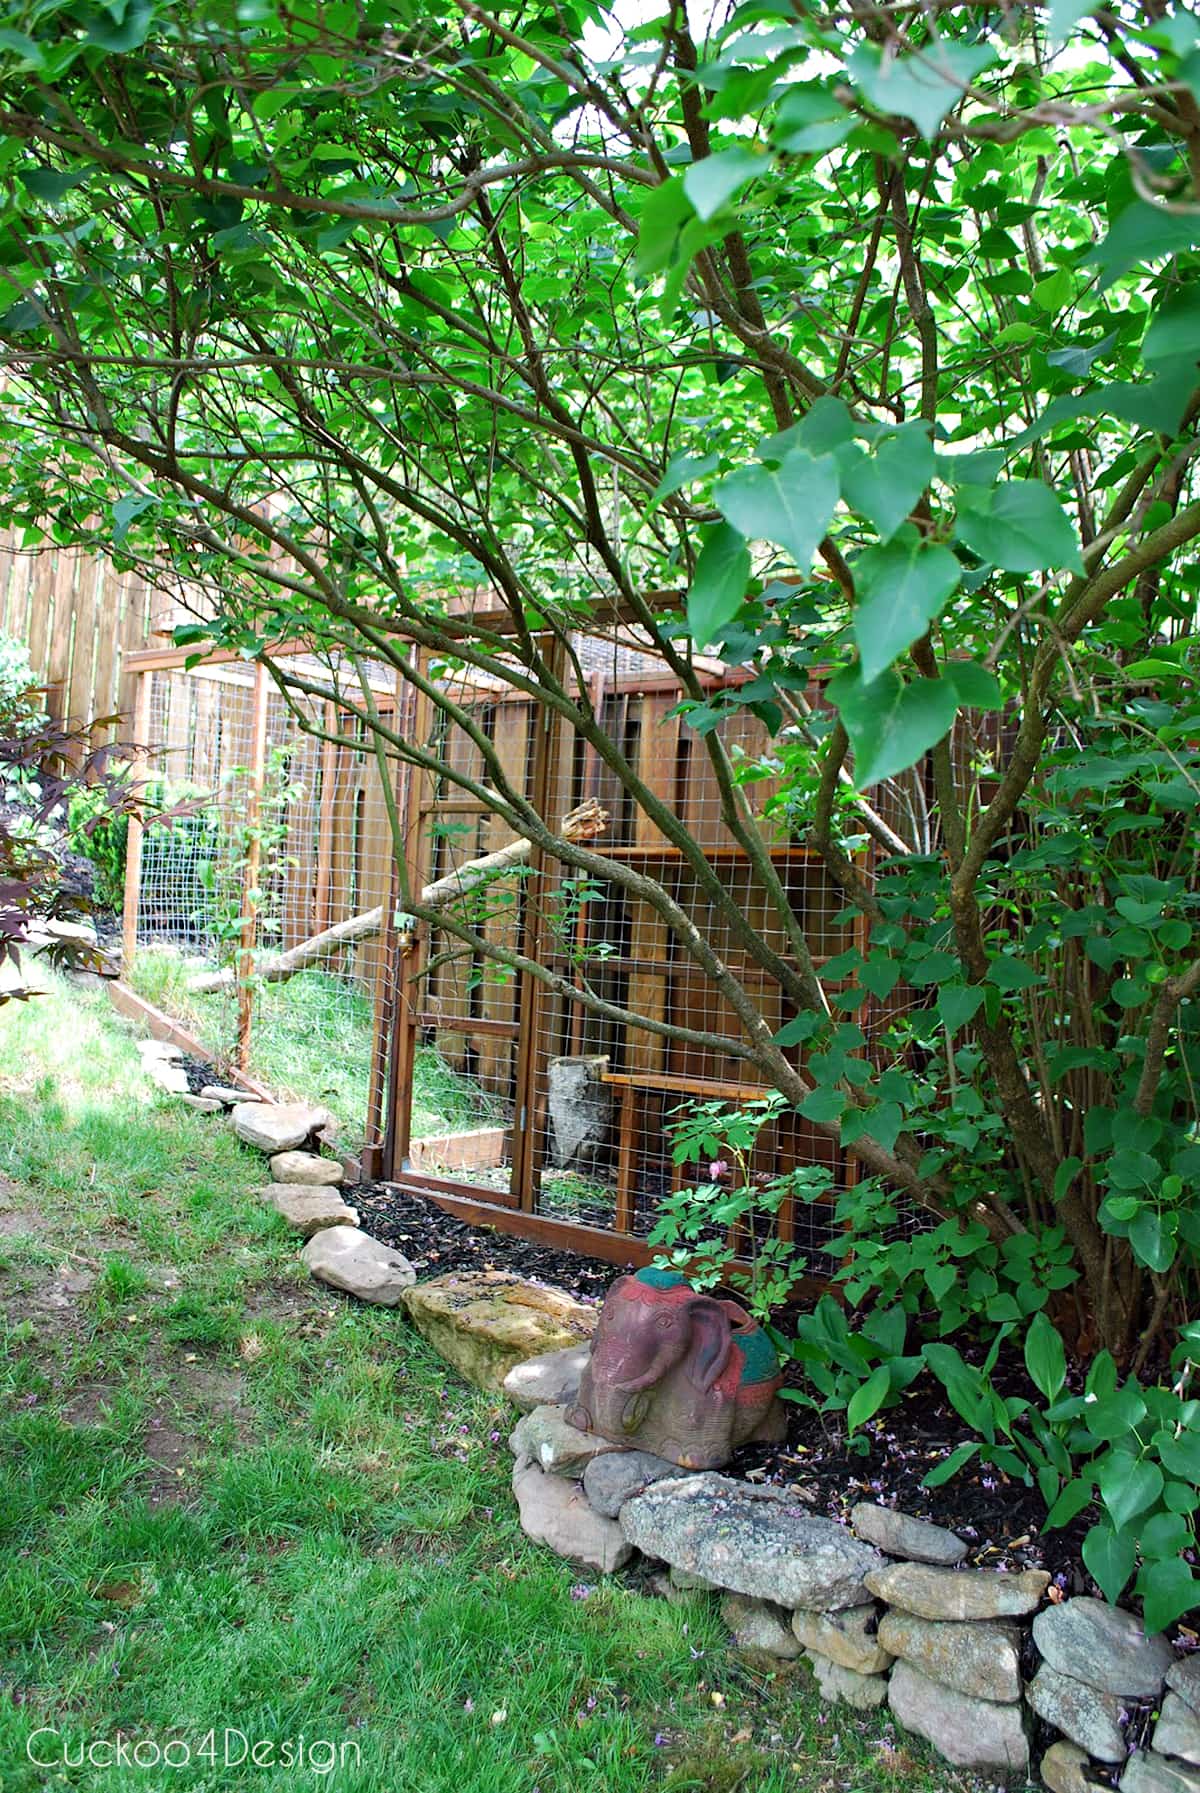
I used galvanized hardware for decks to put the structure together. From the window I had a tunnel run along the fence through a bush and the main cage is hidden behind our large lilac bush.
To support the tunnel along the fence, I screwed 2×2’s level to the fence panels. I made my own brackets with galvanized angles and sadly I didn’t take pictures along the way.
I screwed cedar planks on top of the brackets. Then I attached the galvanized wire with an air compressor staple gun to the fence, folded it over and attached it to the other side of the cedar planks (check out my post about how to build a tunnel HERE). After that I attached some pressure treated wood planks to the front of the wire, so you couldn’t see the staples. Doesn’t my Lilly look happy in her outdoor tunnel? My mom calls it the lions den.
Oops, still need to finish re-staining the fence!
And here is the cats tunnel vision:
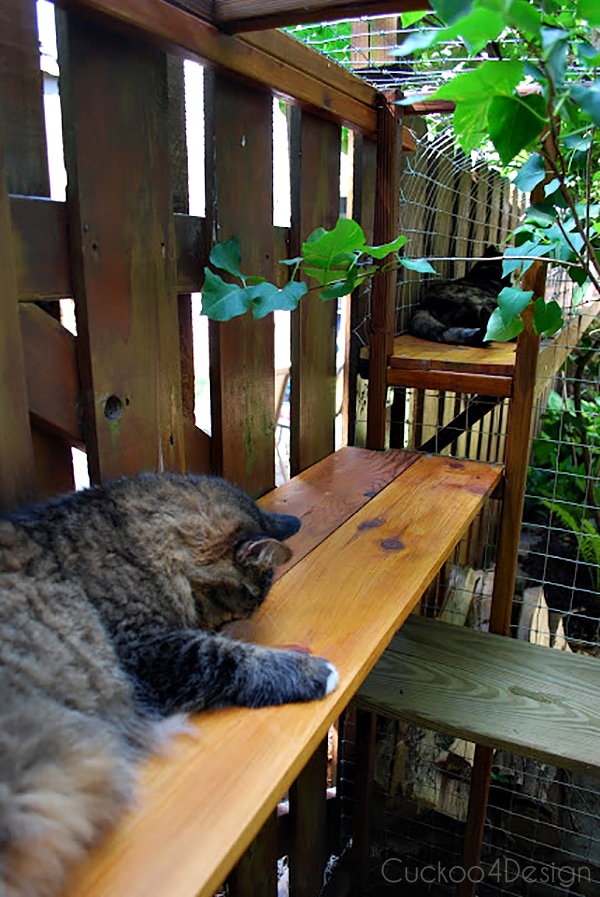

And if you can’t or don’t want to build a cat structure yourself then you could consider buying one of these HERE, which aren’t all that expensive.
Nguồn: Cuckoo4design.blogspot.com
#cách_làm_chuồng_cho_mèo #cách_làm_lối_đi_cho_mèo #Tiệm_Pet_Í_O #catrun #catenclosure
#cách_làm_chuồng_cho_mèo #cách_làm_lối_đi_cho_mèo #Tiệm_Pet_Í_O #catrun #catenclosure
Tham khảo
1. Cách dạy mèo đi vệ sinh đúng chỗ
2. Tự làm thuốc trị nấm cho thú cưng
3. Cách để tắm cho mèo mà không bị cào
4. Bí quyết giữ lông thú cưng luôn thơm tho
5. Cách để hiểu ngôn ngữ loài mèo
6. Cách để giảm căng thẳng ở mèo
7. Bổ sung dinh dưỡng giúp thú cưng khỏe mạnh
8. Tại sao chó thỉnh thoảng thích ăn cỏ
9. Hướng dẫn chụp ảnh thú cưng


Không có nhận xét nào:
Đăng nhận xét